

This homemade cake release recipe is your baking best friend. Whip up just three ingredients and say hello to a perfect cake every time, no matter how wild the cake pan design!
It's the holiday season, y'all! So cue the many layer cakes and beautiful, crazy bundt cakes, it's time to...
...realize you have run out of baking spray in the middle of baking those cakes.
No worries, you've come to the right place!

One of my pastry chefs in culinary school (who also went to my church, which is where I met her!) back in the day gave me the recipe to make my own homemade cake release when I told her I was broken hearted that my very first bundt cake stuck to its pan after all the hard work I put into it. Called it 'magic cake goop'.
I have used this magic cake goo paste ever since. Every single time, a beautiful cake slides out of my cake pans and dessert is saved, y'all. No weird fumes or sticky residue, it is a baker's dream helper.
Keep this recipe in your back pocket and keep cake goop in your fridge all season long.
What is Magic Cake Pan Release?
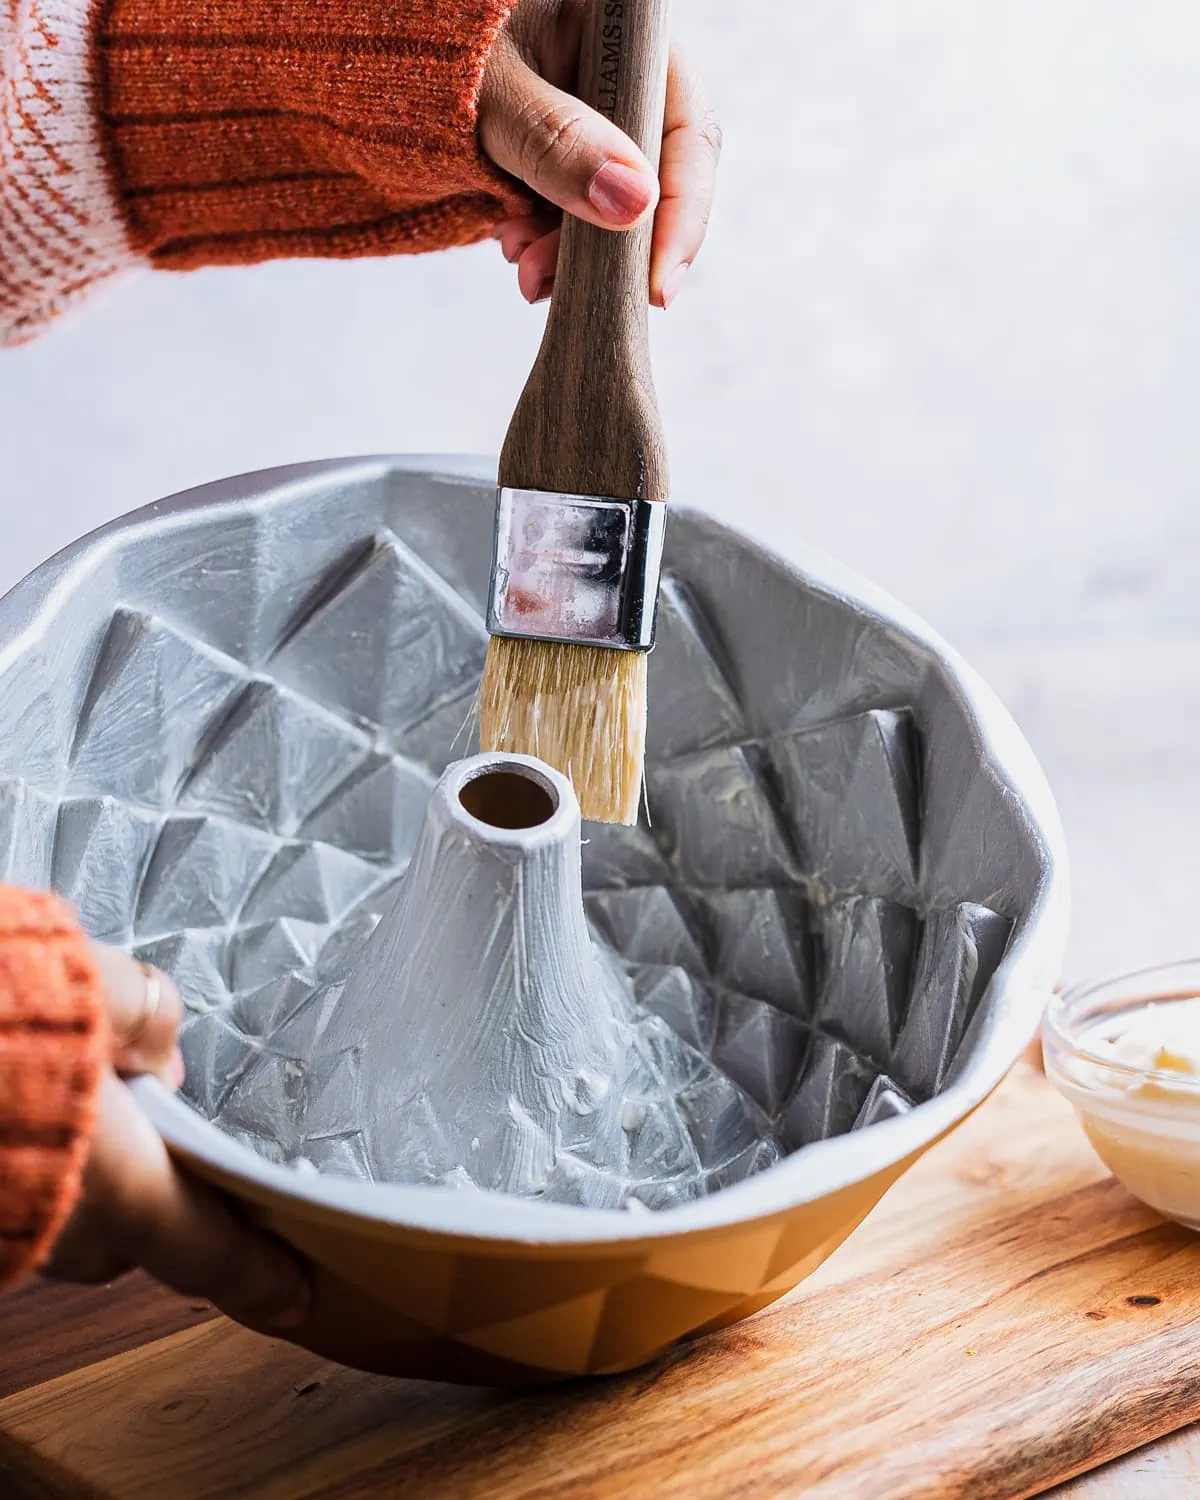
Instead of greasing and flouring, you coat your baking pan in this paste...and when you're done baking the cake magically falls out. Seriously!
Magic cake goo, as it's so affectionately called around here, is a homemade alternative to baking spray. It's a mix of flour and fat that's whipped up into a convenient paste that you can smear all over your cake, bread, and baking pans for perfect baked goods.
It reminds me of that scene in The Help where Minnie and Celia are making fried chicken and Celia finds the Crisco and says, "It looks like frosting...".

Cake release goop has been a lifesaver for every single bundt pan I have. And they can get pretty elaborate, you know! It's an easy way to create beautiful cakes with no stress, completely foolproof.
Equipment
Electric Mixer - An electric hand mixer has been the easiest thing for me to use, since it's not a huge amount. You could use a whisk, it'll take a lot of elbow grease but it can be done!
Mixing Bowl - Gotta mix it up in something!

Silicone Pastry Brush - You'll need a silicone pastry brush to spread the cake release. It'll ruin your classic bristle ones with a quickness. Ask me how I know.
Mason Jar - You'll need this or another airtight container (glass jar preferred) to keep your magic cake goop in.
Ingredients
What's so great about this is that is a simple ratio of equal parts flour, shortening, and oil! Things that you already have in your pantry (and your lifesaver now that you've run out of that baking spray, huh?) and are easy and affordable to find.
All Purpose Flour.
Solid Vegetable Shortening - Make sure it's room temperature so that it'll whip up evenly throughout the paste.
Vegetable Oil - You can use any high-heat, neutral flavored oil you have. Canola oil works, even avocado oil if you're fancy.
Instructions to Make and Use Homemade Cake Goop
In your large mixing bowl, whip together all the ingredients until they're homogenous.
To use it, take a generous amount of cake release onto your silicone pastry brush and smear a thin layer inside of the pan and all the way around the edges of the pan, too.

Then pour in your cake batter and bake as usual. It'll come out perfectly every time.
How to store cake release
The great thing about cake pan release is that it has a pretty long shelf life.
Kept in an airtight container, it lasts 3 months on my countertop and about 8 months in the fridge. I always say give it the sniff test just in case, the oil will only last as long as it was originally meant to. So fresh oil and shortening will mean fresh cake goop.
Pro Tips
If you're making chocolate cake, dust the cake pan with unsweetened cocoa powder after applying the cake release so you don't end up with any floury spots on your beautiful cake.
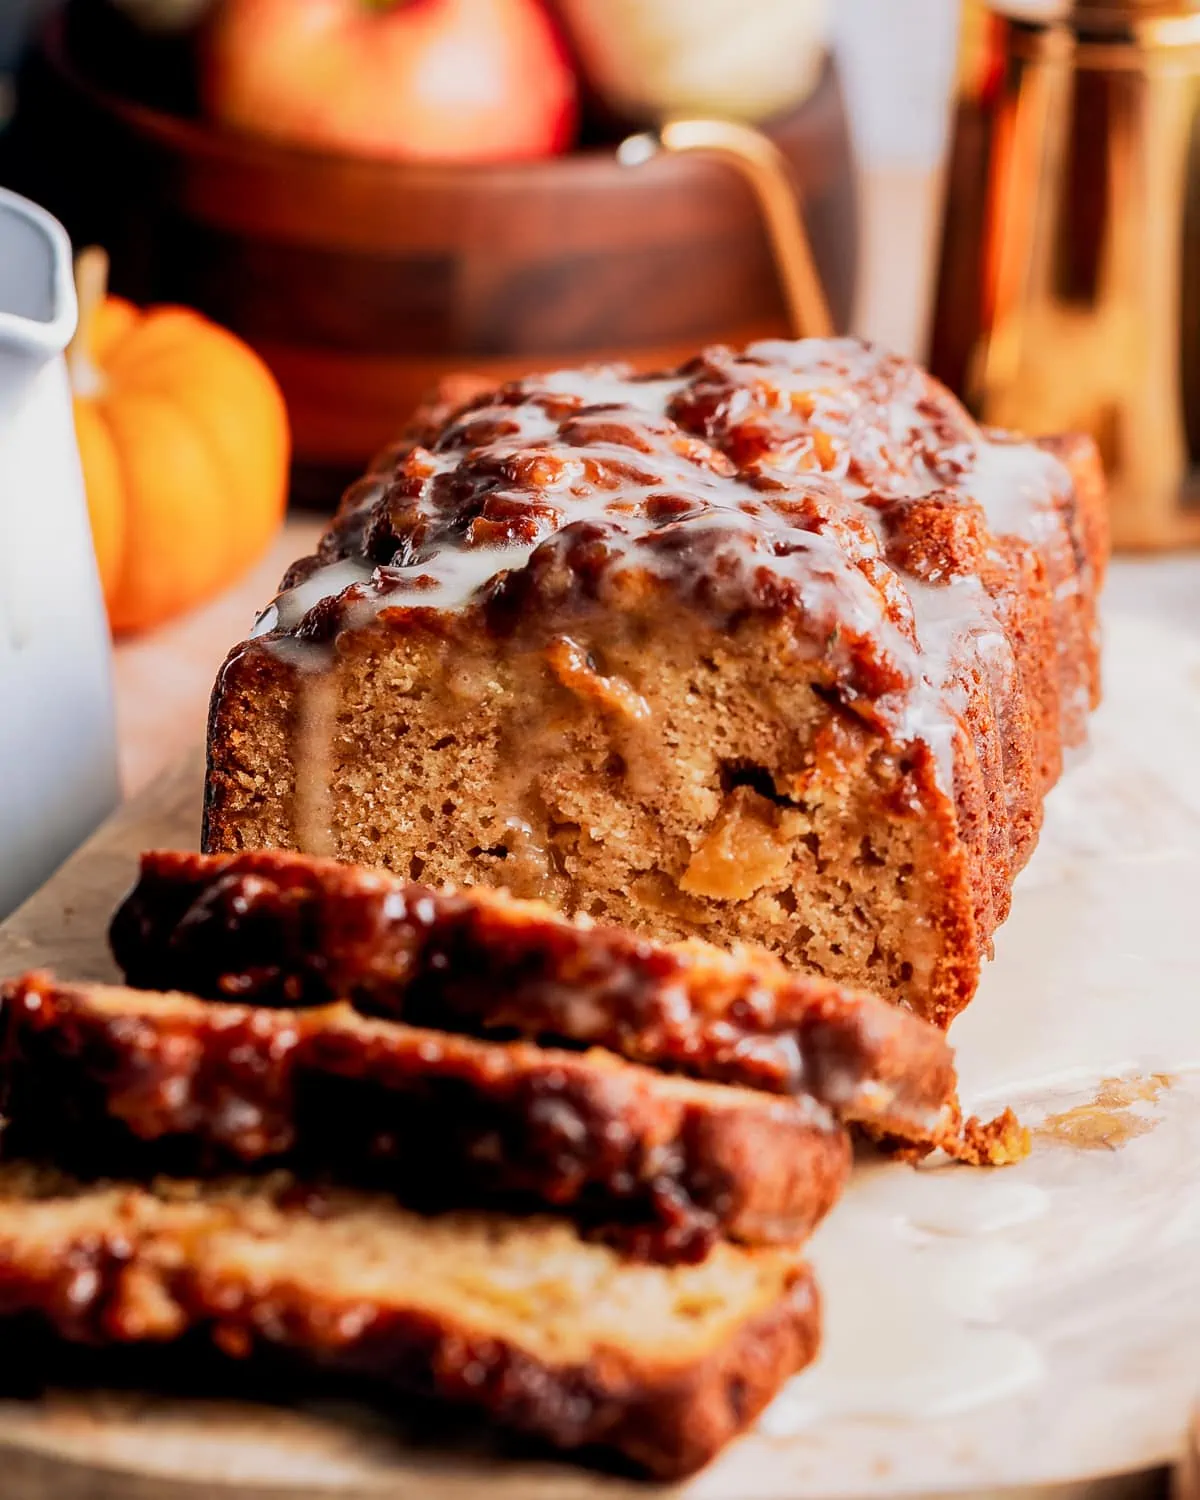
Here are my Favorite Recipes to Use this on
Craving more cozy recipes? Sign up for the Sweet Tea & Thyme newsletter, save this recipe with the Pin button. If you whip it up, tag me (@sweet_tea_thyme on IG/@sweetteaandthyme on TikTok) and don’t forget to leave a star rating and note below, it helps more than you know, friend.

Cake Release Recipe
Ingredients
- ½ cup all purpose flour
- ½ cup solid vegetable shortening
- ½ cup vegetable oil
Instructions
- In a large mixing bowl, whip all of the ingredients together with an electric mixer until smooth and homogenous.
- Pour into a glass airtight container and keep on the counter for 3 months or in the fridge for 8 months.


Leave a Reply