


I’m kicking off a new section on Sweet Tea and Thyme called Back to Basics. Y'all know I love me some Ina Garten, I couldn't help but be inspired.
Back to Basics is all about the heart of what this site is really about: helping you cook with confidence, no matter the price point or cooking skill.
With everything going on in the world, I’ve been getting more and more messages from y’all asking for ways to make homemade versions of convenience foods (I’m all for that), recreate restaurant favorites at home (another big win in my book), and my favorite so far: “making struggle meals not taste like the struggle!”
So to start things off, we’re diving into caramelized onions. Why? They're easy and cheap to make and they can elevate just about any meal.

Stir them into your favorite pasta dish to give it a boost, top a burger and make it feel gourmet, fold them into french onion dip, or whip them into butter and melt it over a juicy steak for a steakhouse date night at home.
Caramelized onions make everyday meals feel just a little bit more special—and it only takes a few simple pantry staples to make happen.
Jump to:
- Back to Basics: Beautifully Brown Caramelized Onions
- Ingredients Needed
- How to Make Caramelized Onions
- Chef's Tips for the Best Caramelized Onions
- Storing and Freezing Instructions
- My Favorite Ways to Use Caramelized Onions
- Equipment I Used
- Frequently Asked Questions
- Try Caramelized Onions in these Recipes
- How to Make Caramelized Onions
Back to Basics: Beautifully Brown Caramelized Onions
There's a ton of fuss about how to caramelize onions. That it takes too long or that they can't figure out how to get them golden brown without burning them. We're fixing all of that.
This post is full of tips for making delicious caramelized onions, but its core is this: sweet onions cooking on the stove top.
A little brown sugar to help that sweetness along, some broth to develop flavor and break those onions down a little faster. Anyone can do it, honey.
Ingredients Needed
Full ingredients, measurements, and printable instructions are in the recipe card at the bottom of this post.
- Thinly sliced Onions - use yellow onions, Spanish onions, or Vidalia onions, which are full of natural sugars. Red onions aren't as sweet, so they're harder to caramelize and are a bit bitter.
- Fat - this can be whatever you have: butter, vegetable oil, animal fats like tallow, lard, or duck fat. It will affect the flavor of your onions, so choose what you like!
- Touch of Brown Sugar - not only do they add more sweetness, but it helps push the onions to caramelize a little quicker.
- A little Broth - a splash of broth helps deglaze the brown bits at the bottom of the pan and add flavor to the onions. That's sweetness and flavor right there that we don't wanna miss!
- Salt and Pepper
How to Make Caramelized Onions


- Step 1 | Slice those onions nice and thin. The thinner the better, because it helps them cook evenly and get that sweet, golden caramelization much faster.
- Step 2 | Turn your burner to medium-low and let those onions start to soften. Once they’re looking good, sprinkle in the brown sugar to bring out that deep, rich sweetness.
- Step 3 | Pour in the broth to deglaze the pan, scraping up all that delicious fond (that’s all the flavor stuck at the bottom). Stir it right into the onions—don’t waste any of that goodness!
- Step 4 | Keep cooking low and slow until your onions are nice and soft, deeply brown and caramelized. And just like that, you're done!
Chef's Tips for the Best Caramelized Onions
- Slice them evenly with a mandoline. I always use my safety mandoline, it's totally worth the (very cheap) investment of not slicing my fingertips off.
- If the onions start sticking, add a little more butter or oil to prevent the onions from burning. Stir occasionally to keep things from getting stuck to the pan.
- Give them space. Make sure you’re using a wide pan. Too many onions crammed together will steam instead of caramelize. Give ‘em room to cook down and brown.
- Use a cast-iron skillet. If you have one, a cast-iron skillet is perfect for caramelizing onions. It holds heat evenly and helps get that rich, deep color without burning the onions.
- For extra flavor, throw in a few sprigs of thyme or a bay leaf while the onions cook. It adds a lovely herby note that complements the sweetness of the onions.

Storing and Freezing Instructions
Storage Instructions:
Once your caramelized onions are fully cooled, transfer them to an airtight container. They’ll keep in the fridge for about 5-7 days.
Freezing Instructions:
- Cool Completely: Let your caramelized onions cool completely before freezing to prevent moisture buildup.
- Portion It Out: Divide them into smaller portions if you don’t plan on using the whole batch at once. You can use ice cube trays for smaller portions or freezer bags for larger ones.
- Freeze: Once portioned, place the onions in a freezer-safe container or zip-top freezer bag. Make sure to squeeze out as much air as possible to avoid freezer burn.
- Store for Up to 3 Months: Frozen caramelized onions can be kept in the freezer for up to 3 months. When you’re ready to use them, just thaw in the fridge overnight or heat them directly from the freezer in a pan with a splash of broth or water.
My Favorite Ways to Use Caramelized Onions
- On Burgers and Sandwiches
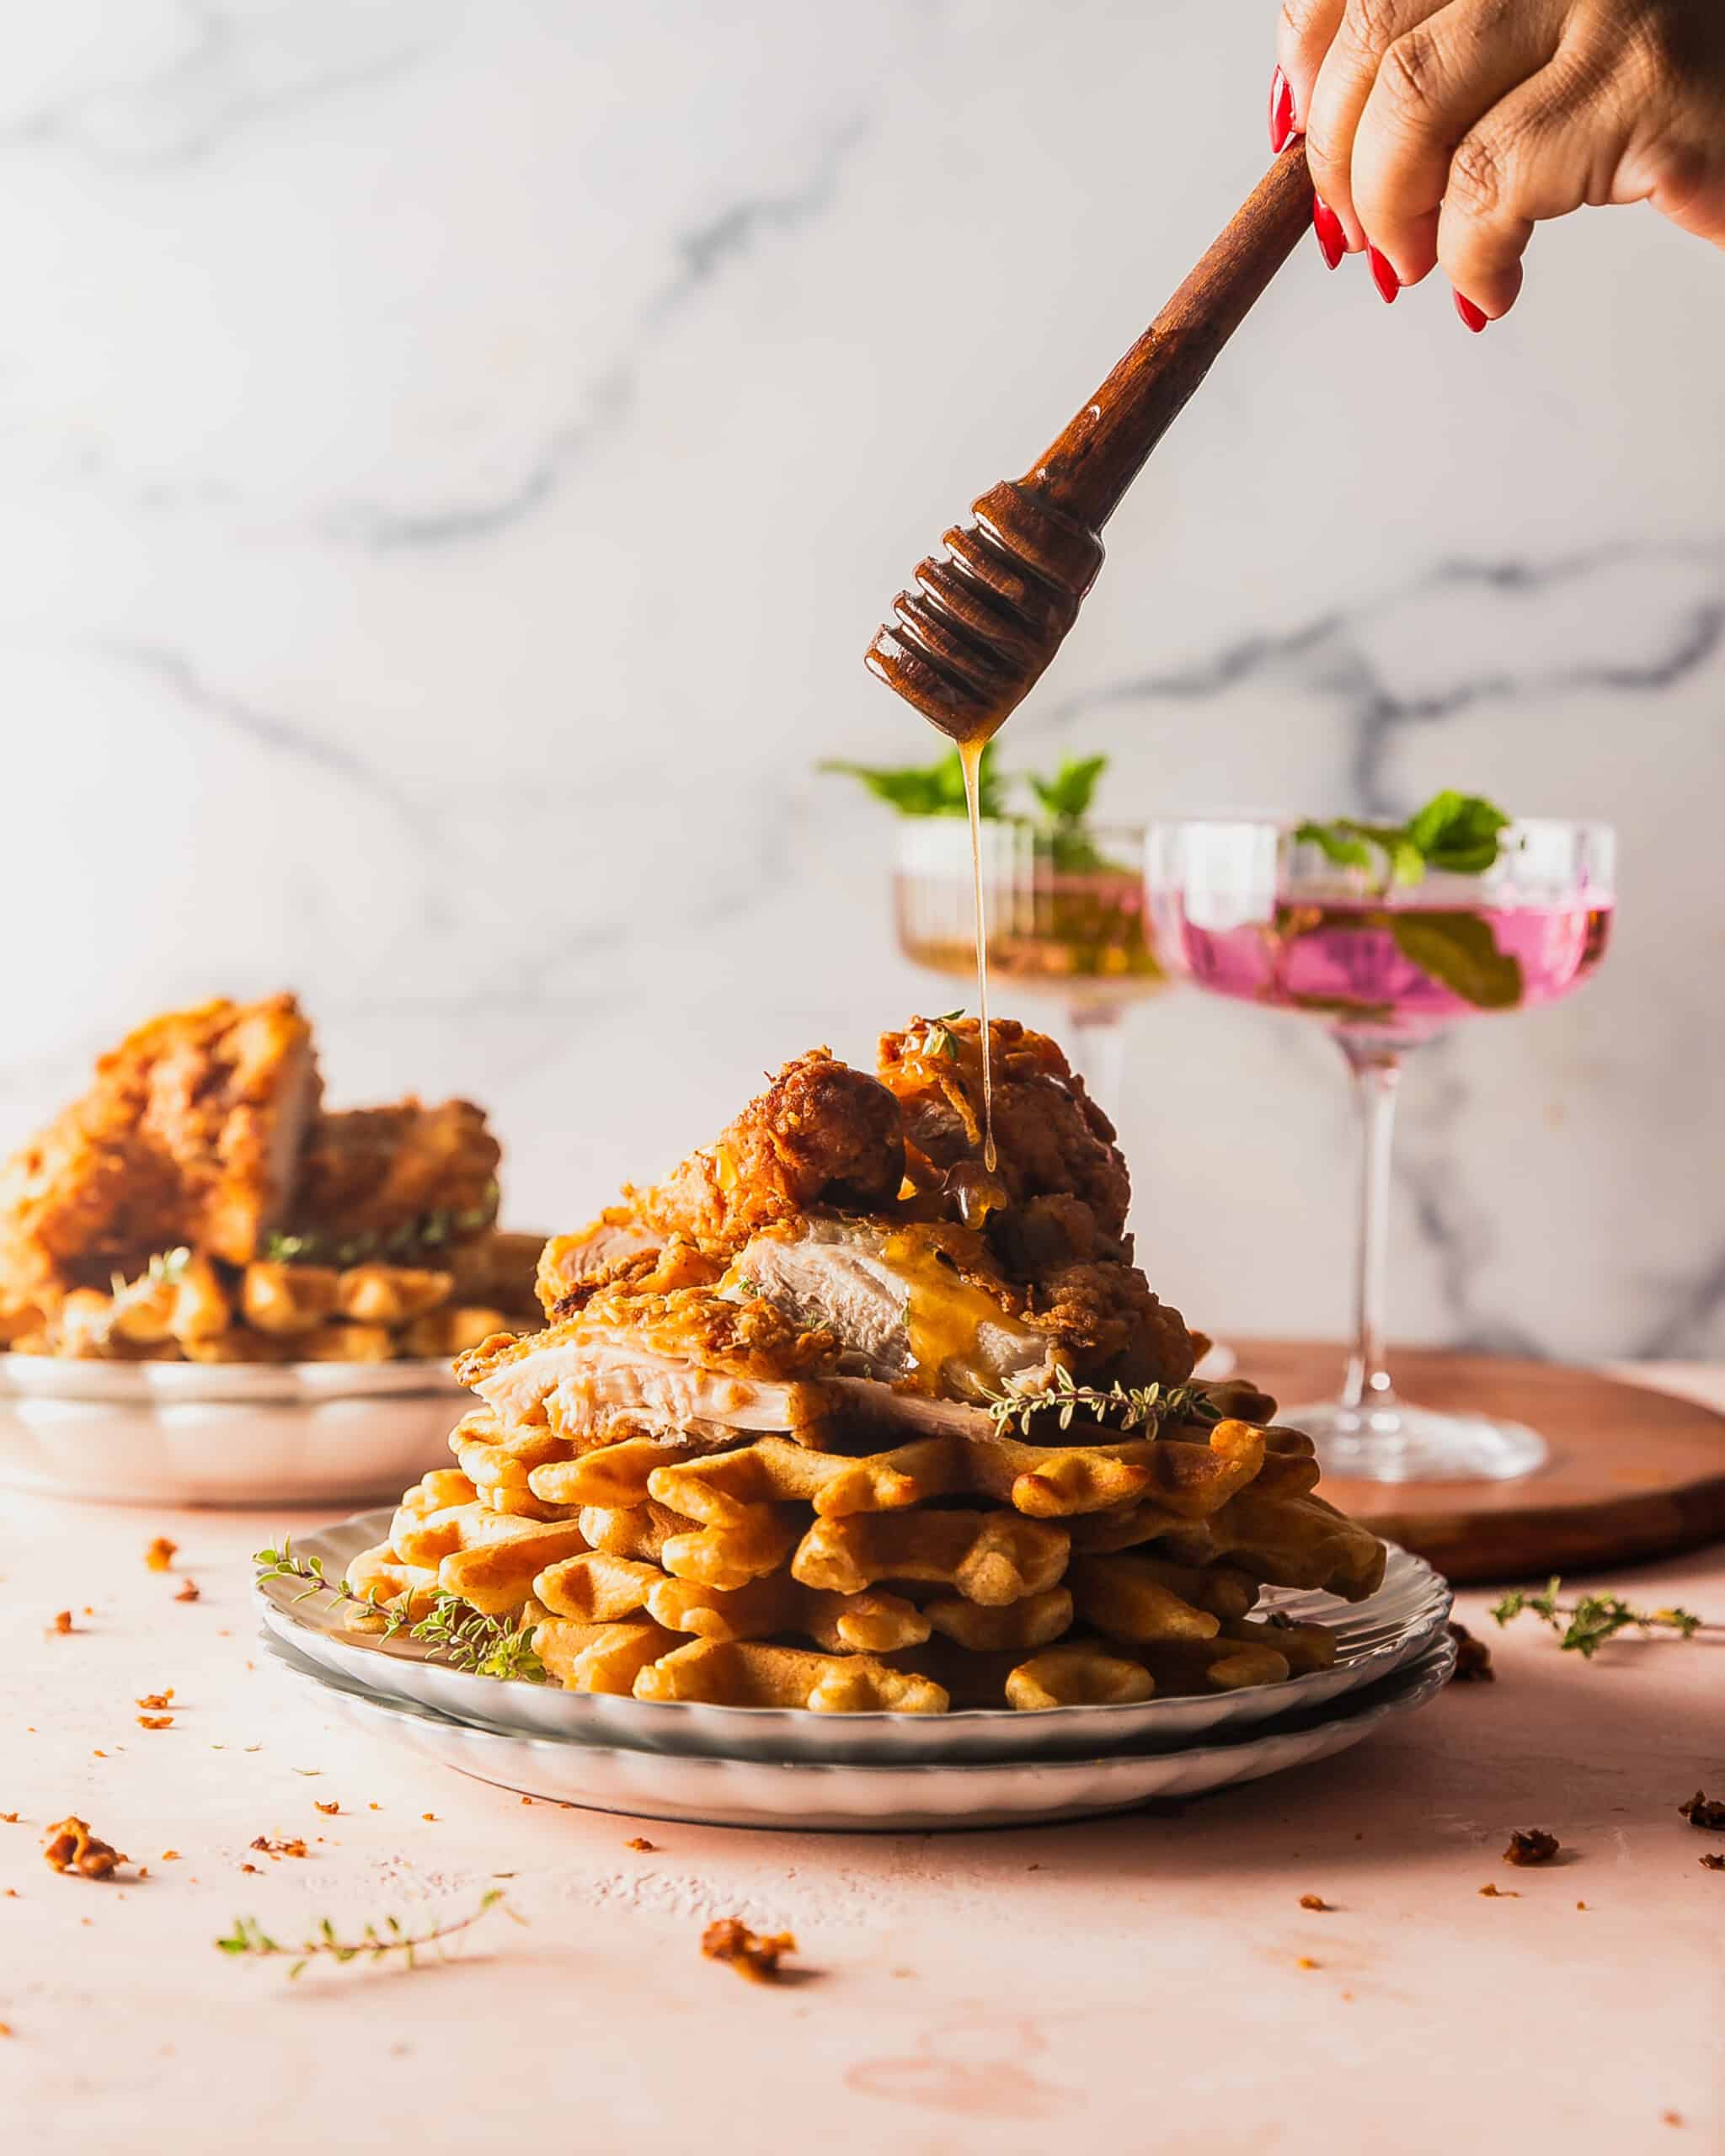
A juicy burger with caramelized onions on top? Sweet, savory, and totally irresistible. - On Pizza
Forget the pepperoni toppings—caramelized onions on homemade pizza make it feel fancy without any extra effort. - With Pasta
Toss them into any pasta dish for instant flavor. They’re especially perfect with creamy sauces or hearty meat-based ones, like a ragu. - In Mashed Potatoes
The sweetness balances the creamy potatoes and makes them feel like something you’d get at a fancy restaurant. - With Eggs
Scrambled eggs, omelets, quiche, with fried eggs—caramelized onions belong in all of them.
Equipment I Used


Frequently Asked Questions
You can! If you’re looking to make them lighter or vegan, just use a splash of vegetable broth and olive oil instead of butter. The key is to cook them low and slow, just like you would with butter or oil.
Yes! Add 5 extra minutes per side and season after the first flip.If you want extra sweetness, you can add a little more brown sugar or a splash of balsamic vinegar. Taste as you go, and adjust until it’s just the right balance for you.
Caramelizing onions takes time—about 30 to 40 minutes on medium-low heat with this recipe. Though the more onions you have, the longer it'll take. It’s a slow process, but it’s totally worth it for that perfect sweet and savory flavor. Be patient, and don’t rush it!
The key is medium-low heat. It’s tempting to turn up the heat to speed things along, but that will just burn the onions before they caramelize properly. Stir them every few minutes and, if they start to get too dark, lower the heat a bit and keep going.
Try Caramelized Onions in these Recipes


Craving more cozy recipes? Sign up for the Sweet Tea & Thyme newsletter, save this recipe with the Pin button. If you whip it up, tag me (@sweet_tea_thyme on IG/@sweetteaandthyme on TikTok) and don’t forget to leave a star rating and note below, it helps more than you know, friend.

How to Make Caramelized Onions
Ingredients
- 5 large yellow onions, thinly sliced
- 4 tablespoons butter
- 1 tablespoon light brown sugar
- ¼ cup broth, vegetable or beef
- kosher salt, to taste
- freshly cracked black pepper, to taste
Instructions
- Peel the onions and slice them thinly. The thinner the slices, the quicker and more evenly they’ll caramelize.5 large yellow onions
- In a large cast iron skillet or sauté pan, melt the butter over medium heat. Add the sliced onions to the pan and stir to coat them evenly in the butter. Cook, stirring occasionally, for about 10-15 minutes, until the onions start to soften and turn golden.4 tablespoons butter
- Sprinkle the brown sugar and a pinch of salt over the onions and stir to combine. This will help the onions caramelize and develop that beautiful deep, sweet flavor. Continue to cook for another 10-15 minutes, stirring occasionally to prevent burning on the bottom.1 tablespoon light brown sugar
- Once the onions have softened and started to caramelize, pour in the broth. Stir to scrape up any delicious caramelized fond stuck to the bottom of the pan. This will add even more flavor to the onions.¼ cup broth
- Let the mixture cook for another 15 minutes, or until the onions are deeply caramelized, tender, and the liquid has mostly evaporated. Season with salt and freshly cracked black pepper to taste.kosher salt, freshly cracked black pepper
- Once the onions are perfectly caramelized, remove from heat.
Recipe Notes
Notes
Makes about 4 cups of caramelized onions. Please take the timing as a guideline, it can change off the exact temperature of your burner, the width of your pan, the ripeness of the onions. We're looking for color more than anything.Chef Tips
-
- If the onions start sticking, add a little more butter or oil to prevent the onions from burning. Stir occasionally to keep things from getting stuck to the pan.
-
- Give them space. Make sure you’re using a wide pan. Too many onions crammed together will steam instead of caramelize. Give ‘em room to cook down and brown.
-
- If they taste bitter, the heat was likely too high. Lower the heat and keep cooking slowly, or add a pinch of salt or sugar to balance it out.
-
- Use a cast-iron skillet. If you have one, a cast-iron skillet is perfect for caramelizing onions. It holds heat evenly and helps get that rich, deep color without burning the onions.
-
- For extra flavor, throw in a few sprigs of thyme or a bay leaf while the onions cook. It adds a lovely herby note that complements the sweetness of the onions.
Storage Instructions:
Once your caramelized onions are fully cooled, transfer them to an airtight container. They’ll keep in the fridge for about 5-7 days.Freezing Instructions:
-
- Cool Completely: Let your caramelized onions cool completely before freezing to prevent moisture buildup.
-
- Portion It Out: Divide them into smaller portions if you don’t plan on using the whole batch at once. You can use ice cube trays for smaller portions or freezer bags for larger ones.
-
- Freeze: Once portioned, place the onions in a freezer-safe container or zip-top freezer bag. Make sure to squeeze out as much air as possible to avoid freezer burn.
- Store for Up to 3 Months: Frozen caramelized onions can be kept in the freezer for up to 3 months. When you’re ready to use them, just thaw in the fridge overnight or heat them directly from the freezer in a pan with a splash of broth or water.
Nutrition Information


Leave a Reply