


Consider me your Thanksgiving Fairy Godmother, honey, because this year you are in charge of the gravy. Yep, I don't wanna hear it! You're making the gravy!
My southern mac and cheese got you to become the designated mac and cheese maker for the last few years, now let's also be the one who saves your Memaw's turkey with an easy thanksgiving gravy that you made from scratch!

I love making gravy and pan sauces for almost any dinner, from roast chicken to roast pork, but the holidays is where gravy gets its flowers. So let's make sure your gravy is worth being poured over mashed potatoes this year.
Jump to:
- How to Make Gravy from Drippings (any drippings!)
- Terminology You Should Know
- Ingredients Needed
- Ingredient Boosts
- How to Make Homemade Gravy from Pan Drippings
- Equipment I Used
- Chef's Tips for the Best Gravy
- Troubleshooting
- Storage, Reheating, and Freezing
- Thanksgiving Dishes that Deserve Good Gravy
- Gravy from Pan Drippings
How to Make Gravy from Drippings (any drippings!)
I have heard y'all say again and again: you are terrified of making a homemade gravy. It's lumpy, it's weird, it scary to even start! So I've written out the guide for you to learn how to make gravy.
This is a very clear, easy to follow, step-by-step post all about using those pan drippings from roasted chicken or turkey on Thanksgiving, or even the beef drippings from a prime rib or juicy pot roast.
We add flour to fat, whisk, whisk, whisk, add in stock, and season. It's much more simple than you think, don't psych yourself out!
This recipe post was created using the drippings from my Herb Roasted Thanksgiving Cornish Hens, a spin off of my mama's go-to holiday main, in case you want to make it just as I did!

Terminology You Should Know
There are three culinary terms you need to know when making gravy:
- Drippings - this is the fat and juices left in the pan from roasting your chicken, turkey, roast beef or pork.
- Roux - a thickener made of equal parts fat and flour. This is what takes the drippings from pan sauce to pan gravy.
- Deglaze - to soften up the brown bits stuck to the bottom of the pan and incorporate them into the drippings/gravy.
- Bonus! Nappé - this is the coating-the-back-of-a-spoon consistency. When you swipe a finger down and it stays separate, that's nappé!
Ingredients Needed
Full ingredients, measurements, and printable instructions are in the recipe card at the bottom of this post.
- Drippings from a roasted protein
- All Purpose Flour - you can also use gluten free flours or other starches like corn starch, potato starch, or even xanthan gum (just mix them in cold water before adding to the gravy)
- Stock - what you use will depend on your drippings Turkey or chicken go with turkey, chicken, and pork, while beef stock goes with beef. A homemade stock is always the best (and great for bragging rights) but I like to use Better than Bouillon base to amp up my broths as well, they're really flavorful.
- Seasoning - this is just Worcestershire sauce, salt and black pepper for the base but when you feel comfortable, go wild! Pink peppercorns, mustards, exotic spices even!
- Butter - this is what takes it from homemade to restaurant-worthy. Monter au beurre at the end, it gives a richness and brings it all together.
Ingredient Boosts
No swaps, instead here's some of my favorite ways to elevate the base gravy recipe with a quick table guide to reference.
- Herbs - lighter herbs go great for an everyday chicken gravy. Try sage, rosemary, and thyme (also called 'the poultry blend' in bundles) for a thanksgiving gravy with your turkey drippings, or go for straight rosemary for a beef gravy.
- Umami - if it tastes like something is missing, try giving it a savory boost of umami. Worcestershire sauce, mushroom powder, MSG, even a little tomato paste (I save this for a beef gravy) they all have that great savoriness that deepens the flavor of your gravy.
- Brighteners - if the gravy is too heavy or rich, brighten it up with something acidic. A splash of dry white or red wine, a little apple cider vinegar (this one is good for that turkey gravy), a half a teaspoon of dijon mustard or even a dash or two of hot sauce.
| Meat | Deglaze with | Add Aromatics | Boost Flavor | Finish with |
|---|---|---|---|---|
| Beef | Red wine | garlic, rosemary | worcestershire, soy sauce, tomato paste, or mushroom powder | butter, red wine vinegar |
| Chicken | white wine, broth + lemon juice | shallot, sage, thyme | dijon or roasted garlic | butter or cream |
| Turkey | white wine or apple cider | mirepoix, sage, bay leaf | worcestershire, soy, or roasted garlic | butter + fresh herbs |
| Pork | apple cider or hard cider | onions, rosemary, garlic | dijon, apple butter, or white miso | butter or cream |
| Lamb | red wine or balsamic | garlic, thyme, rosemary | anchovy paste or tomato paste | butter + squeeze of lemon |
How to Make Homemade Gravy from Pan Drippings
Step 1a

Separate the fat.
After removing your roast from the pan, let the drippings sit for a minute for the fat to rise to the top, then spoon off all but about ¼ cup of fat.
Step 1b

Strain the solids (optional).
If your drippings have solids (like you see here with the drippings of my holiday cornish hens), strain the solids from the drippings using a mesh strainer for a silky, restaurant style gravy.
Step 2

How to make a roux.
Return the pan to medium heat and add the reserved fat. Sprinkle in the flour and whisk constantly for 2–3 minutes until it's a grainy paste consistency. This cooks out the raw flour taste and builds a rich base.
Step 3a

Build the gravy.
Slowly pour in about ½ cup of broth while whisking. It will seize up and look crazy and you're gonna look at me like Eden, this doesn't look like gravy... and I'm letting you know, just keep going.
Step 3b

Keep whisking until smooth.
Gradually add the remaining broth, big splashes at a time, whisking until smooth.
Step 4

Simmer and season, baby.
Let the gravy simmer gently on the stovetop (don't boil!), stirring often, until thickened and glossy. You're looking for that nappé consistency as shown. If it’s too thick, add more broth a splash at a time. Season with salt and pepper to taste
Step 5

Finish with buttah.
Stir in any boosters (Worcestershire, herbs, Dijon) then whisk in a pat or two of butter right before serving for that extra touch of richness and shine. Strain again to remove any clumps or solids for a silky smooth gravy.
Step 6

Strain for smoothness.
Strain again to remove any clumps or solids for a silky smooth gravy.
Step 7

Serve.
Pour into a serving container and serve the gravy warm.
Equipment I Used


Chef's Tips for the Best Gravy
- Every tablespoon of fat binds about the same amount of flour and emulsifies roughly ½ cup of liquid. Keep that mental ratio handy and you’ll never have broken gravy again.
- A blonde roux (2–3 minutes of cooking) keeps gravy mild and buttery, perfect for turkey or chicken. A medium brown roux (about 5 minutes) creates deeper, roasted flavor for beef or pork.
- Once the flour in your roux smells nutty and the bubbling slows slightly, you’ve hit the perfect point: the starches have gelatinized, meaning the roux will thicken properly.
- For a pan that is not stove-safe (like a glass or ceramic baking dish), deglaze immediately out the oven by splash in a little hot broth and scrape up any fond if you don't have enough drippings to help you lift the browned bits.
- If you kept onions or solids in the gravy but want a smoother texture, blend with an immersion blender or pour through a fine-mesh strainer before serving.
Troubleshooting
You’ve got too much fat in your drippings or not enough flour to soak it up. Skim the oil off the top with a spoon, or blot it up with a paper towel. Next time, use equal parts fat and flour (about ¼ cup each) to get that smooth, glossy texture.
Whisk hard to smooth it out, or use an immersion blender to get those lumps in check. To prevent it next time, sprinkle the flour into hot fat while whisking, and slowly pour in warm broth so it emulsifies evenly. And don't stress, it happens to the best of us.
Your drippings probably didn’t have enough fond or seasoning. Stir in a splash of Worcestershire or soy sauce for depth, or a dab of Dijon for brightness. You'll have a flavorful gravy in no time.
Add a splash of unsalted broth, cream, or milk to dilute the salt. A pinch of sugar can also balance the flavor without muting it.
The fond (those browned bits) scorched before you added liquid. If it tastes burnt, start fresh with new fat and flour because burnt flavor won’t cook out. Next time deglaze sooner, before those bits get too dark.
Storage, Reheating, and Freezing
- Store: Let gravy cool, then pour into a jar or airtight container. Keeps in the fridge for up to 4 days. A little fat may solidify on top but just whisk it back in when reheating.
- Reheat: Warm slowly on the stove, whisking as you go. Add a splash of broth or milk if it’s too thick, and finish with a pat of butter to bring it back to life.
- Freeze: Freeze in freezer safe containers or ice cube trays for up to 3 months. Thaw overnight in the fridge and reheat gently, adding a splash of liquid to smooth it out.
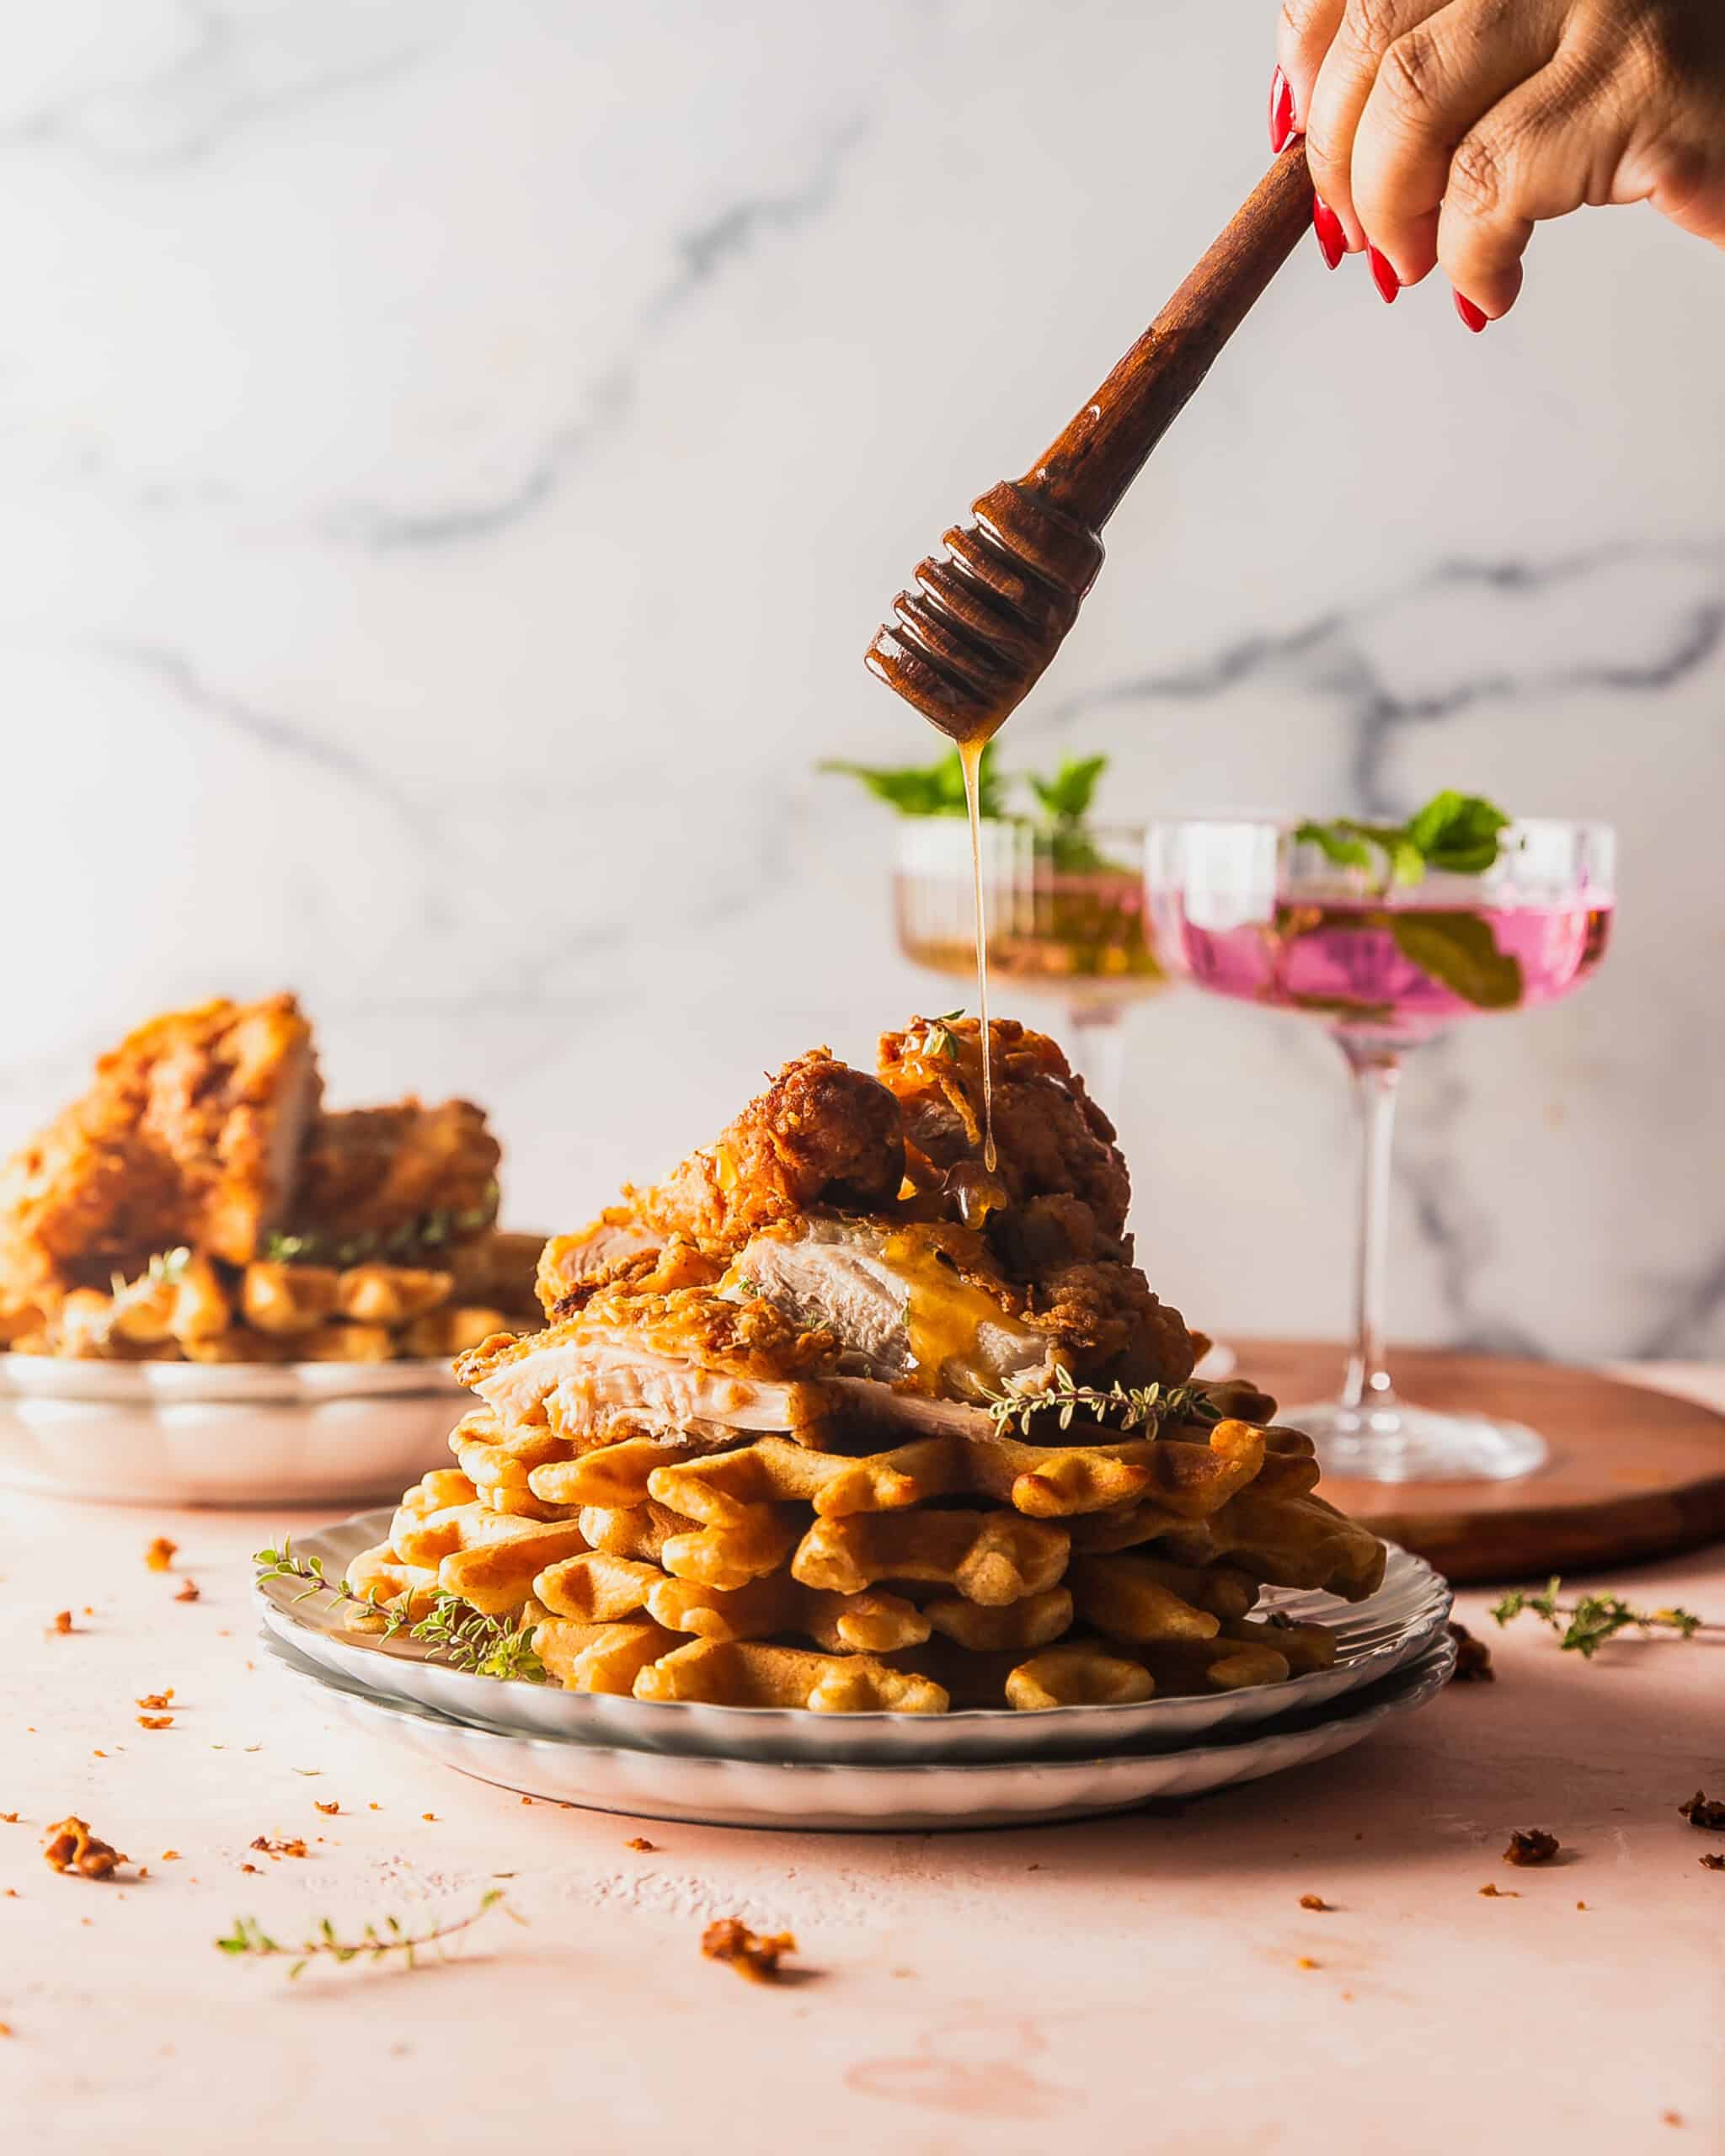
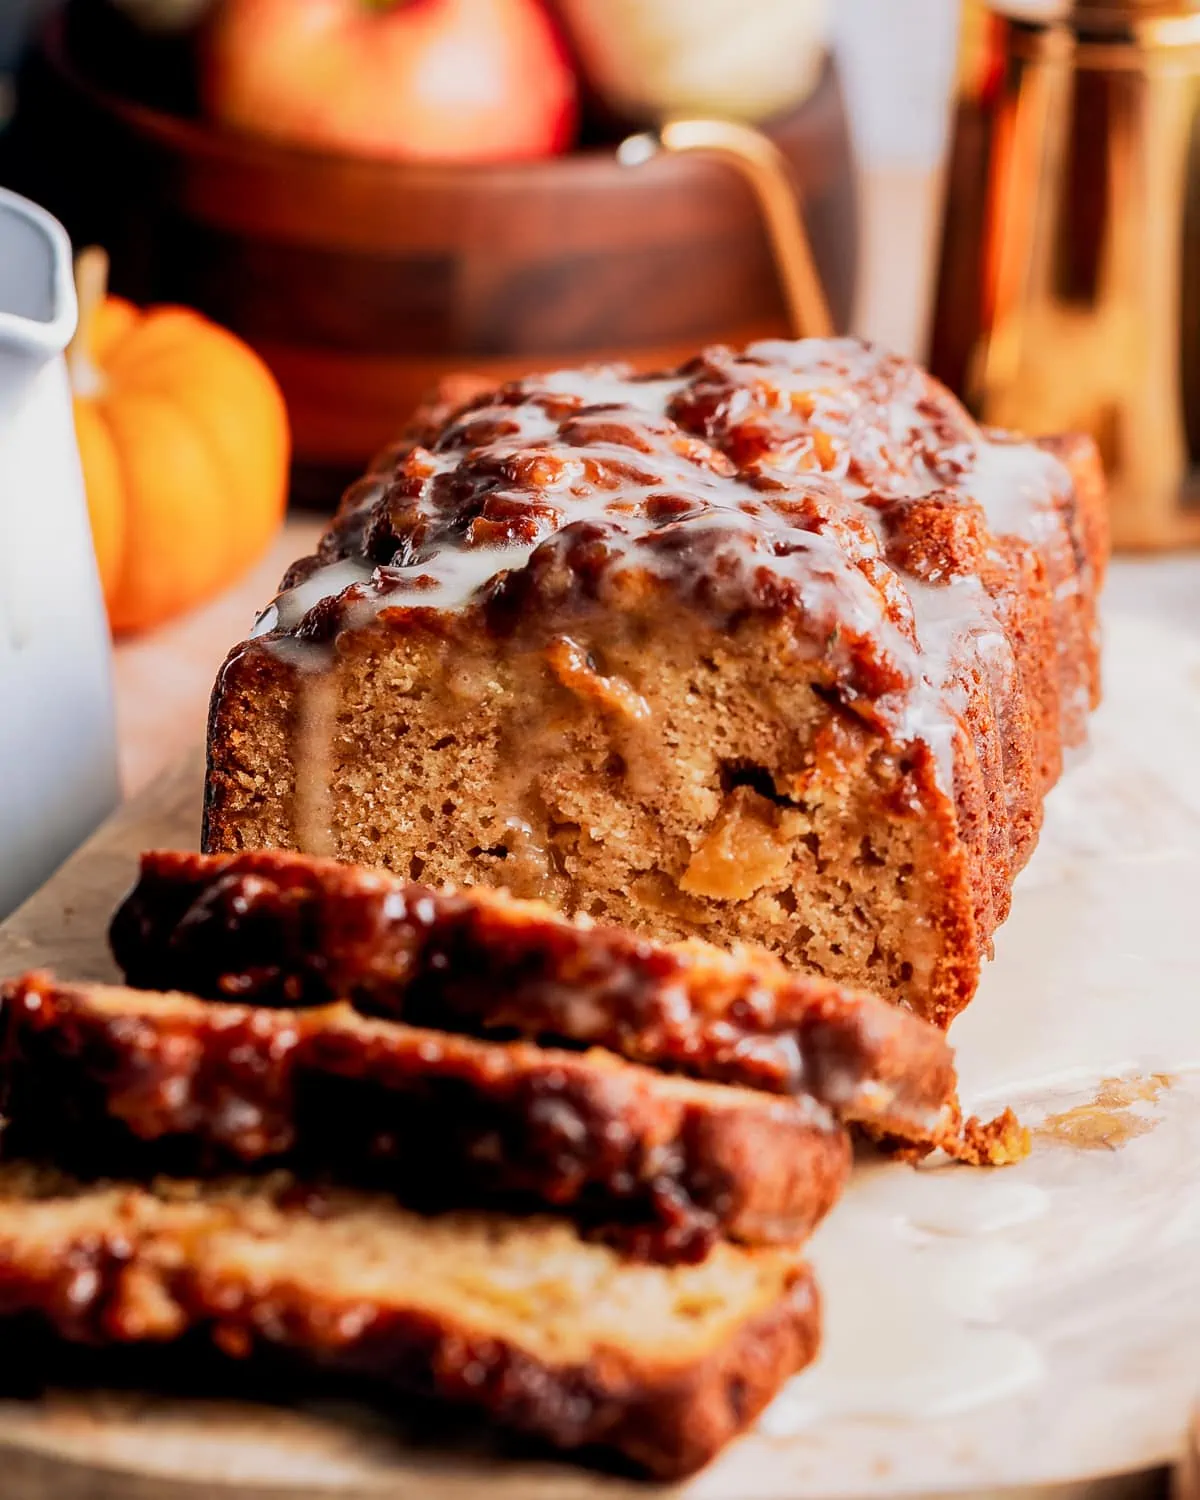
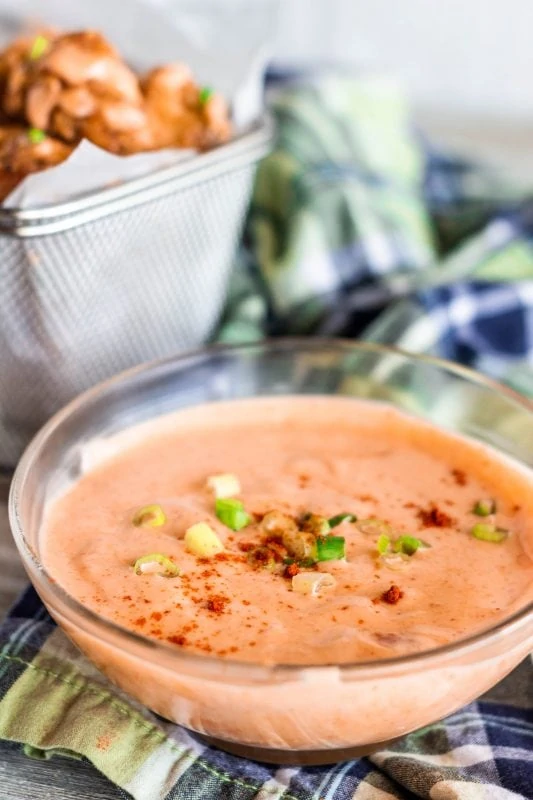
Thanksgiving Dishes that Deserve Good Gravy


Craving more cozy recipes? Sign up for the Sweet Tea & Thyme newsletter, save this recipe with the Pin button. If you whip it up, tag me (@sweet_tea_thyme on IG/@sweetteaandthyme on TikTok) and don’t forget to leave a star rating and note below, it helps more than you know, friend.

Gravy from Pan Drippings
Equipment
Ingredients
- ¼ cup pan drippings, strained of aromatics
- 3 tablespoon all purpose flour
- 2 cups chicken stock, or turkey or beef stock, depending on your protein
- 1 teaspoon worcestershire sauce, for depth
- kosher salt and black pepper, to taste
- 1 tablespoon unsalted butter, very cold, for finishing
Instructions
- After roasting your meat, scrape up any browned brits from the sides and bottom of the pan, then strain the drippings from the pan through a mesh sieve into a fat separator or into a measuring cup. Let sit for a few minutes so the fat rises to the top. Skim off about ¼ cup of the fat for your roux and reserve the rest of the drippings. If you don't have enough, sub the rest of the amount with some melted butter.¼ cup pan drippings
- Place your heat safe roasting pan (or a saucepan) on the stove over medium heat. Add the reserved drippings fat to the pan, then whisk in the flour, stirring constantly, until the roux smells nutty and has the consistency of a thick paste, about 3 minutes.3 tablespoon all purpose flour
- Slowly whisk in the rest of the pan drippings and your broth/stock. It will seize up and look weird before smoothing out, that's the roux soaking up the liquid, just keep adding broth and whisking until the gravy is liquidy and smooth.2 cups chicken stock
- Reduce the heat to medium low and let the gravy simmer, stirring occasionally so nothing burns to the bottom, for about 5-10 minutes OR until the gravy is thick enough to coat the back of a spoon and stay separated when you swipe a finger down. If your gravy looks too thick, whisk in a bit more broth; if it’s too thin, simmer a few minutes longer.
- Stir in the Worcestershire sauce for added umami and taste for salt and pepper. Season as needed, then whisk in the pat of butter to finish the gravy.1 teaspoon worcestershire sauce, kosher salt and black pepper, 1 tablespoon unsalted butter
- For perfectly silky smooth gravy, strain it again through a mesh sieve into a measuring cup or your serving container.
Recipe Notes
Chef's Tips
- Every tablespoon of fat binds about the same amount of flour and emulsifies roughly ½ cup of liquid. Keep that mental ratio handy and you’ll never have broken gravy again.
- For a pan that is not stove-safe (like a glass or ceramic baking dish), deglaze immediately out the oven by splash in a little hot broth and scrape up any fond if you don't have enough drippings to help you lift the browned bits.
Storage, Reheating, and Freezing
- Store: Let gravy cool, then pour into an airtight container. Keeps in the fridge for up to 4 days. A little fat may solidify on top but just whisk it back in when reheating.
- Reheat: Warm slowly on the stove, whisking as you go. Add a splash of broth or milk if it’s too thick, and finish with a pat of butter to bring it back to life.
- Freeze: Freeze in freezer safe containers or ice cube trays for up to 3 months. Thaw overnight in the fridge and reheat gently, adding a splash of liquid to smooth it out.


Leave a Reply